
Hi Ladies: Hope you are all have a good Sunday. I worked on the Crown most of the day today. I promised to show you how to make one yourself. This one is for my church. It is going to sit on the Cross on Easter Sunday. I may add some more jewels, but for now it is finished! Hope you can figure it out. If not just email me and I will help you.
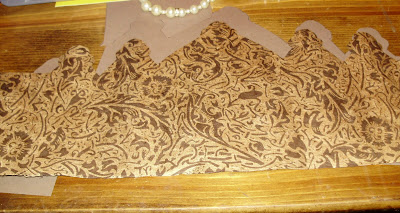
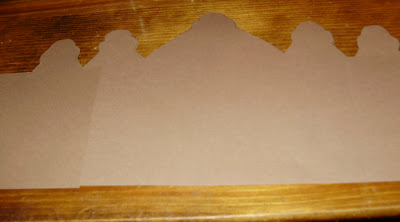
1. Step one is to make a pattern. I used one that I found at Michael's and just
traced it. You can get a Burger King's Crown, it would have worked perfect. I had
this beautiful brown and gold paper. I need a man's looking crown so I think this
paper works good. You need to cut two, a front and back.
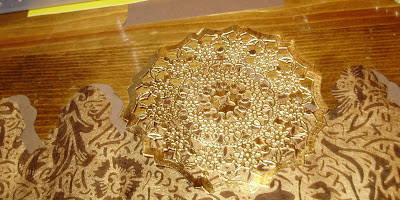
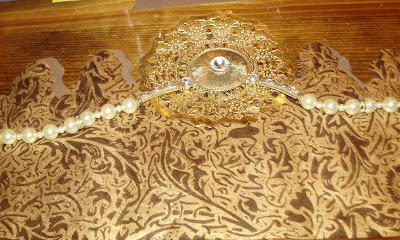
2. Step two is cut out the center of a gold paper doily. I am going to use this as the back ground for the jewel I pick for the center piece. I will use smaller circle of the same doily for frames around some rhinestones.
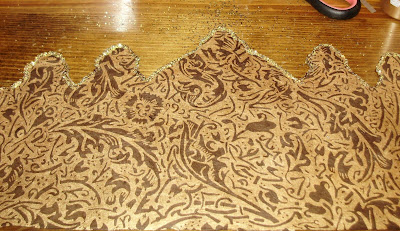
3. Step three is to glue the back to the front. This makes your base strong. It is also a good time to try and get an idea of what you are going to do to decorate the crown. I was thinking a first of this necklace with pearls. I later changed my mind.
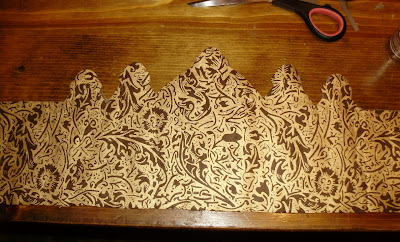

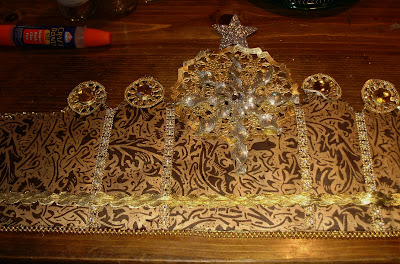
4. Step four. Put a thin line of glue around the top edges of the crown. I then gave it a bath with gold glitter. Just for a little extra bling! Notice that I am working the whole time with the crown flat. We will make it round later.
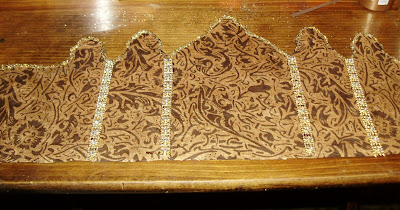
5. Step five. I add the trims. I found this gold and rhinestone trim at Michael's. So I just sectioned it off evenly on the crown. I also trimmed the border of the crown with the same trim. I just glued the to the paper, nothing fancy.
6. This next step is to add a piece of trim to the bottom of the crown. This will give it a finished look. I had this piece in my stash. I glued the large doily and the four smaller ones to the points on the crown. I tried them with out the doilies and they just did not look the same. The center piece on the large doily is an Christmas ornament I had. It looks like a cross. I think is works better than my original plan of the necklace. The smaller doilies were attached to the crown by glue as well.
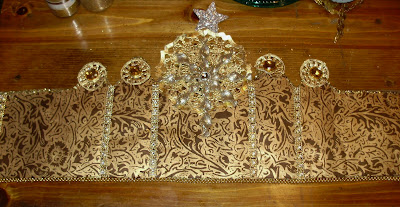

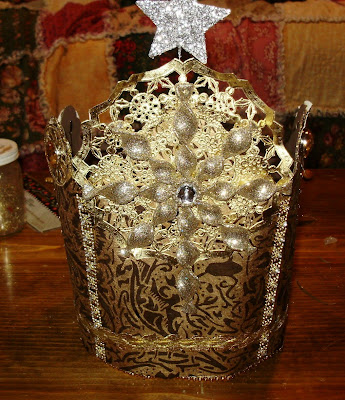
7. This step adds the star. A simple glittered star, wired and taped on the the back of the crown, easy. More ribbon is add also. I had some very pretty gold Ric-rack that I used on the bottom of the crown. Just glue, that is all you need.

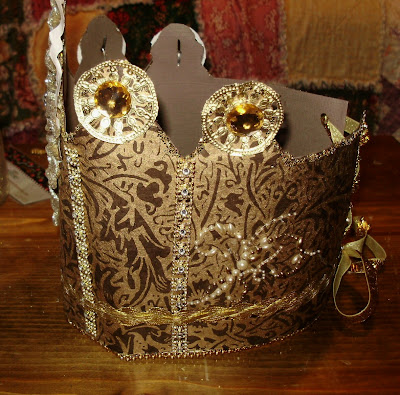
8. The is some of the fun part. I added some of those curly pearl and rhinestone sticker things to each side. You can begin to see what the front looks like.
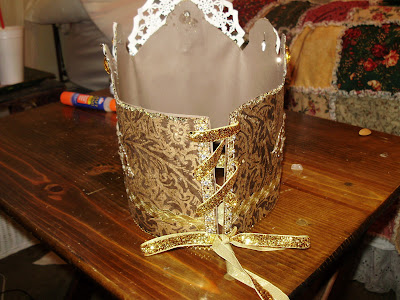
9. To create the back I punched some holes. It is like making a shoe lace and then I added gold ribbon. I am going to add a few make thing tomorrow. I always have to step away from it, to see what it needs. I know I will be adding things to the back to make it look pretty too. You can just use what you have and I am sure it will be beautiful.
I not the best teacher, but I hope that this will encourage you to make a crown for yourself. Girls crowns are so much more fun. Like I said this one is for the church. Please if you have questions or get stuck, email me.
Couple of reminders: Give away is Wednesday, you will have time to enter for more chances. Tea Cup Tuesday will happen again this week. I will try to have Mr. Linky up Monday so you can join in the fun. Lastly, my family and I need prayer. Please lift us up to the Lord. He knows. We need a miracle.
Blessings to all this wonderful Holy Week. May God give you the desires of your heart as you seek Him first! Martha


